
Short answer
The Barracks stands by the Town gate. Its build desk places barricades and archer towers for battles, the Merc Leader hires out four mercenaries, and Defender's Emblems unlock its squad slots, up to 4. Each barricade or tower adds 2, 4 or 6 defense power by tier. The mercenaries add 8 DP — 16 and 24 after two gear upgrades — but their price climbs with every win, from 5 silver to 1 gold, until the Inflation quest switches them to Wine.
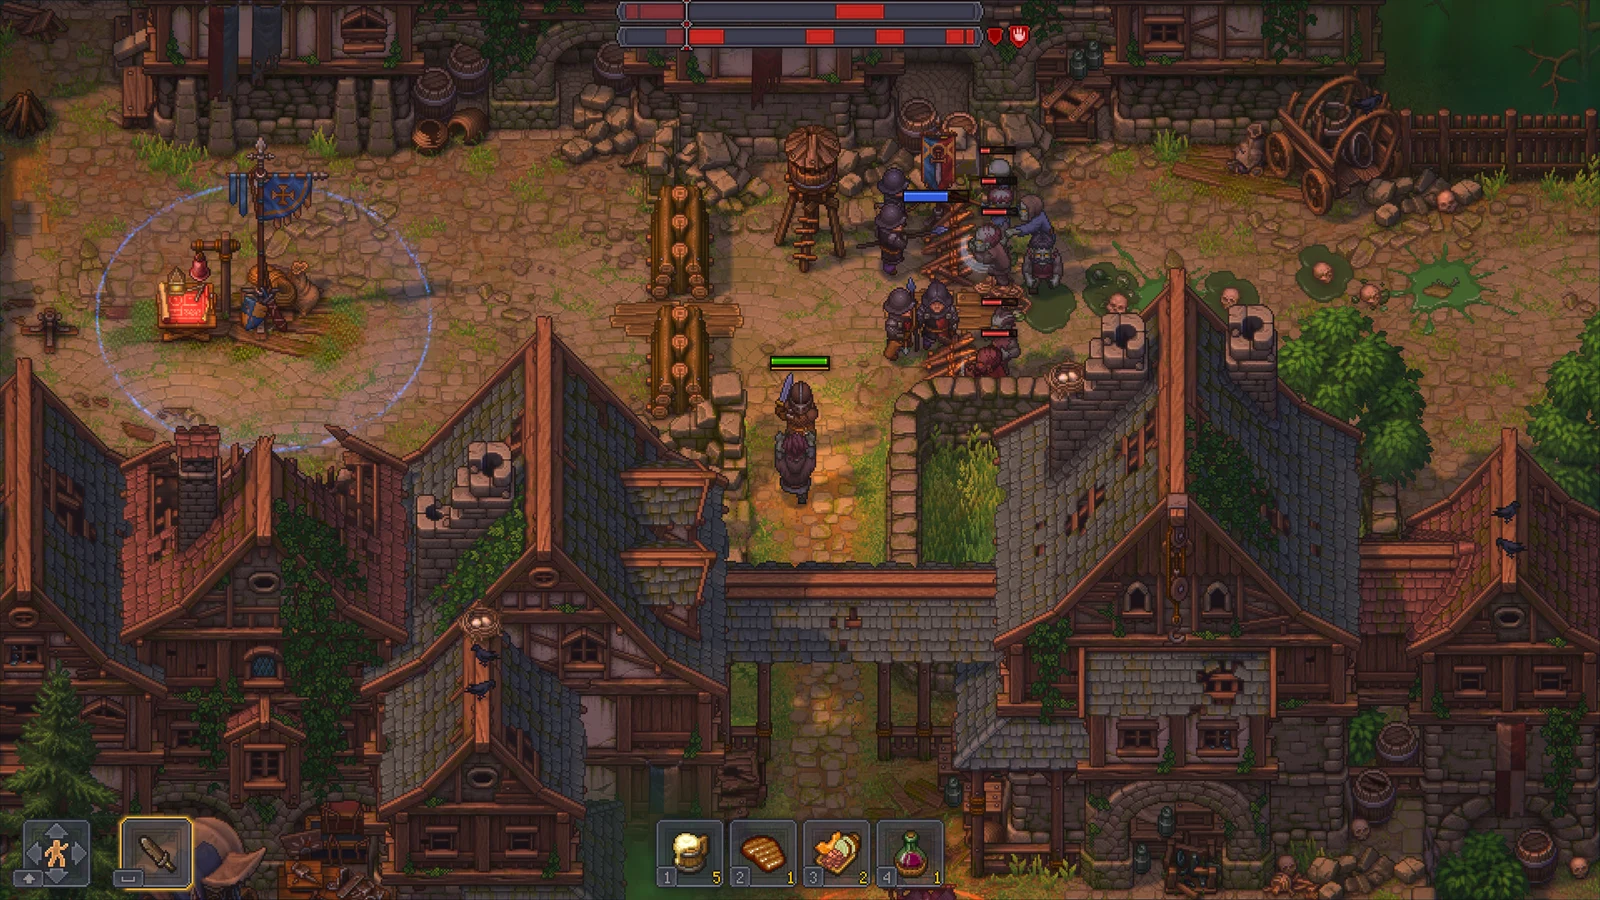
Battle in the Town
View full-size image ↗Official promotional screenshot · © Lazy Bear Games / tinyBuild · Official media kit · Material credits
Barricades
Barricade I, II and III: +2, +4 and +6 DP with 400, 600 and 800 health. They block but do not hit back.
Fortified Barricade I, II and III: the same DP with 600, 800 and 1,000 health.
Spiked Barricade I, II and III: the same DP with 250, 450 and 600 health, but every zombie that hits one takes 3, 5 or 7 damage back.
In battle you place them from the Command post onto the battle's barricade spots.
Archer towers
Archer Tower I: +2 DP, 150 health, 8 damage per arrow, range 7.
Archer Tower II: +4 DP, 300 health, 16 damage. Archer Tower III: +6 DP, 450 health, 24 damage.
Enemy zombies wear no armor, so arrows and spikes always land in full.
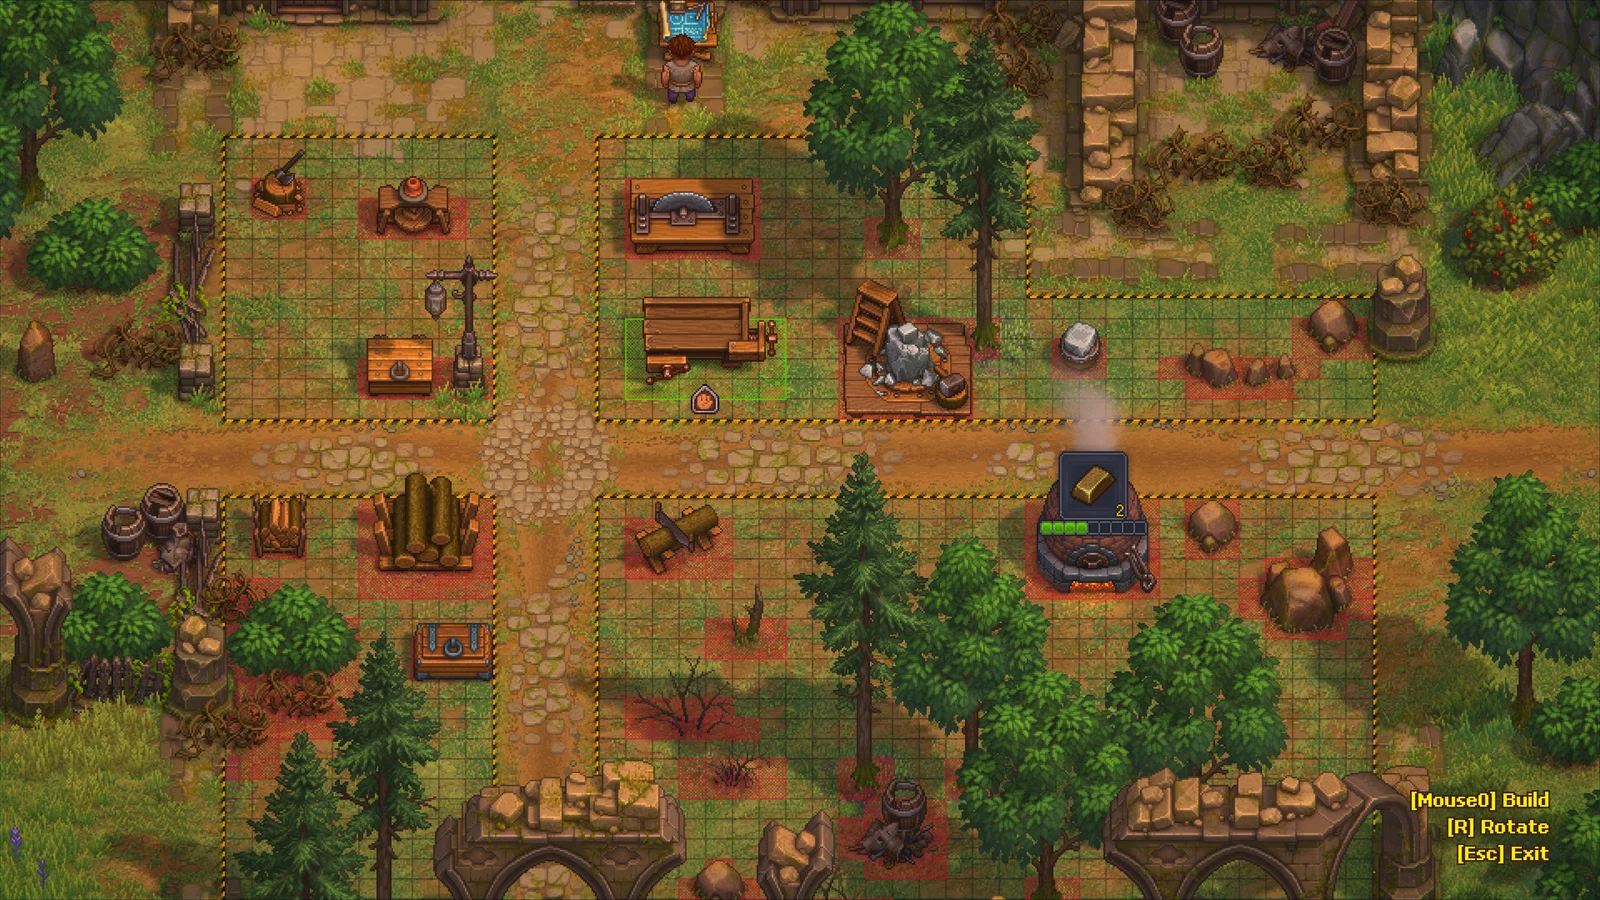
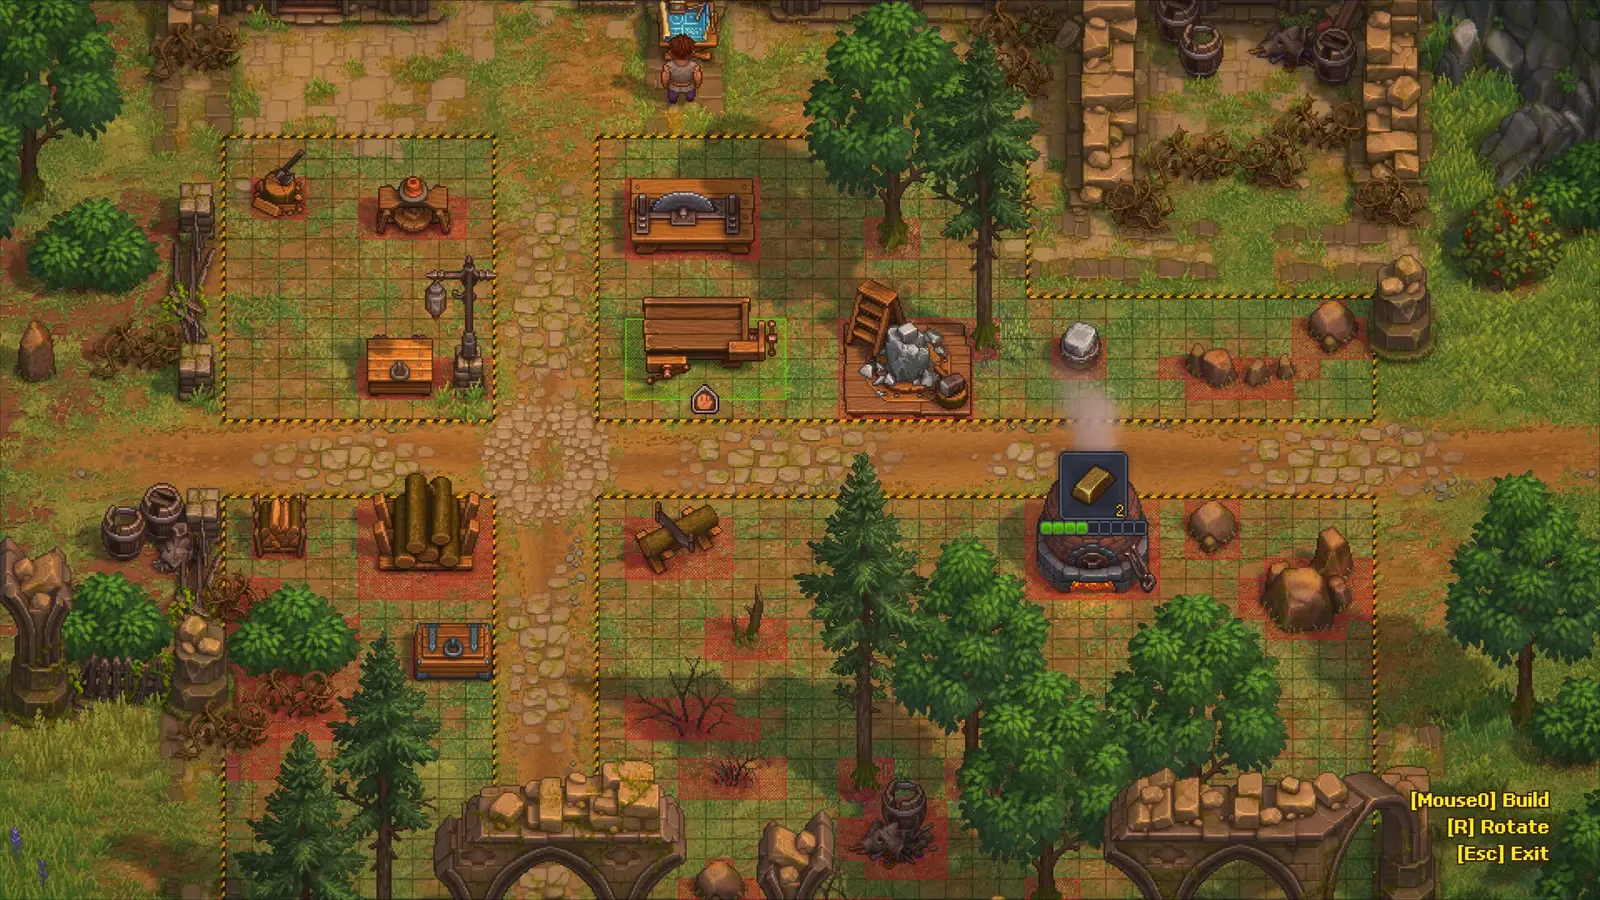
An official build-mode screenshot of an outdoor work area. Barracks defences are placed from their own build desk; this is not it.
View full-size image ↗Official promotional screenshot · © Lazy Bear Games / tinyBuild · Official media kit · Material credits
The two perks that boost them
War Supplier adds 10% health to every barricade and +50, +100 and +100 health to Archer Towers I, II and III.
War Engineer adds +4, +4 and +6 arrow damage to the towers, and +1, +2 and +3 to spike damage.
Squad slots
Each Defender's Emblem unlocks a squad slot, up to 4. Break Through to the Port, Eastern Districts: Active Scouting, Central Districts Purge: Part I and Break Through to the Bathhouse Basement give one each.
A squad holds 4 zombies, and each needs body armor plus a pike or a bow before it can fight.
Hiring mercenaries
The four mercenaries — two pikes, two bows, 150 health each — fight as one squad and take one of the battle's squad places.
Once hired they always join. One payment lasts until a battle is won with them; a lost battle does not use it up.
Price by wins with them: 5 silver, then 7 silver 50 bronze, 10 silver, 15 silver, 20 silver, and 1 gold from the sixth hire on.
Paying the fifth price starts the quest Inflation. Once it is finished, each hire costs 3 gold-quality Wine instead — our Gold Wine guide covers making it.
Mercenary gear upgrades
3 Iron Ingots: pikes become Battle Pikes, bows Battle Bows and armor Iron Armor. Squad DP rises to 16. Offered from the quest Hope It Doesn't go South.
3 Steel Ingots: Knight's Spears, Heavy Bows and Steel Armor. Squad DP rises to 24.
Only after an upgrade do your buffs reach them: Fighter, II and III add 3, 6 and 9 per hit, and God's fury adds 3 to their bow hits.
Sources
- communitywikily.gg — Battles
- communitywikily.gg — Mercenaries
- communitywikily.gg — Barracks
Related pages
 Official screenshot · © Lazy Bear Games / tinyBuildThe TownGraveyard Keeper 2 Battles
 Official screenshot · © Lazy Bear Games / tinyBuildCraftingGraveyard Keeper 2 Gold WineOfficial screenshot · © Lazy Bear Games / tinyBuildThe TownGraveyard Keeper 2 Undead Army
 Official screenshot · © Lazy Bear Games / tinyBuildEconomyGraveyard Keeper 2 Steel Ingots and the Steel Anvil
 Official screenshot · © Lazy Bear Games / tinyBuildCraftingGraveyard Keeper 2 Iron: Ore, Ingots and the SmithyOfficial screenshot · © Lazy Bear Games / tinyBuildThe TownGraveyard Keeper 2 Barricades