
Short answer
The Factory lies under the Inquisition Base cellar. Clear its blocked entrance (4 Iron Detail, 1 Reinforced Beam, Building mastery 8), repair the Broken Zombie Carousel (6 Bronze Gear, 4 Bronze Detail, 4 Wooden Plank) and put a zombie in it for power, then research Conveyors (70 red, 20 blue) and the Assembly Bench (75 red, 20 blue). Start with one short line — input Conveyor Chest, Assembly Bench I, output chest — and only expand once it runs.
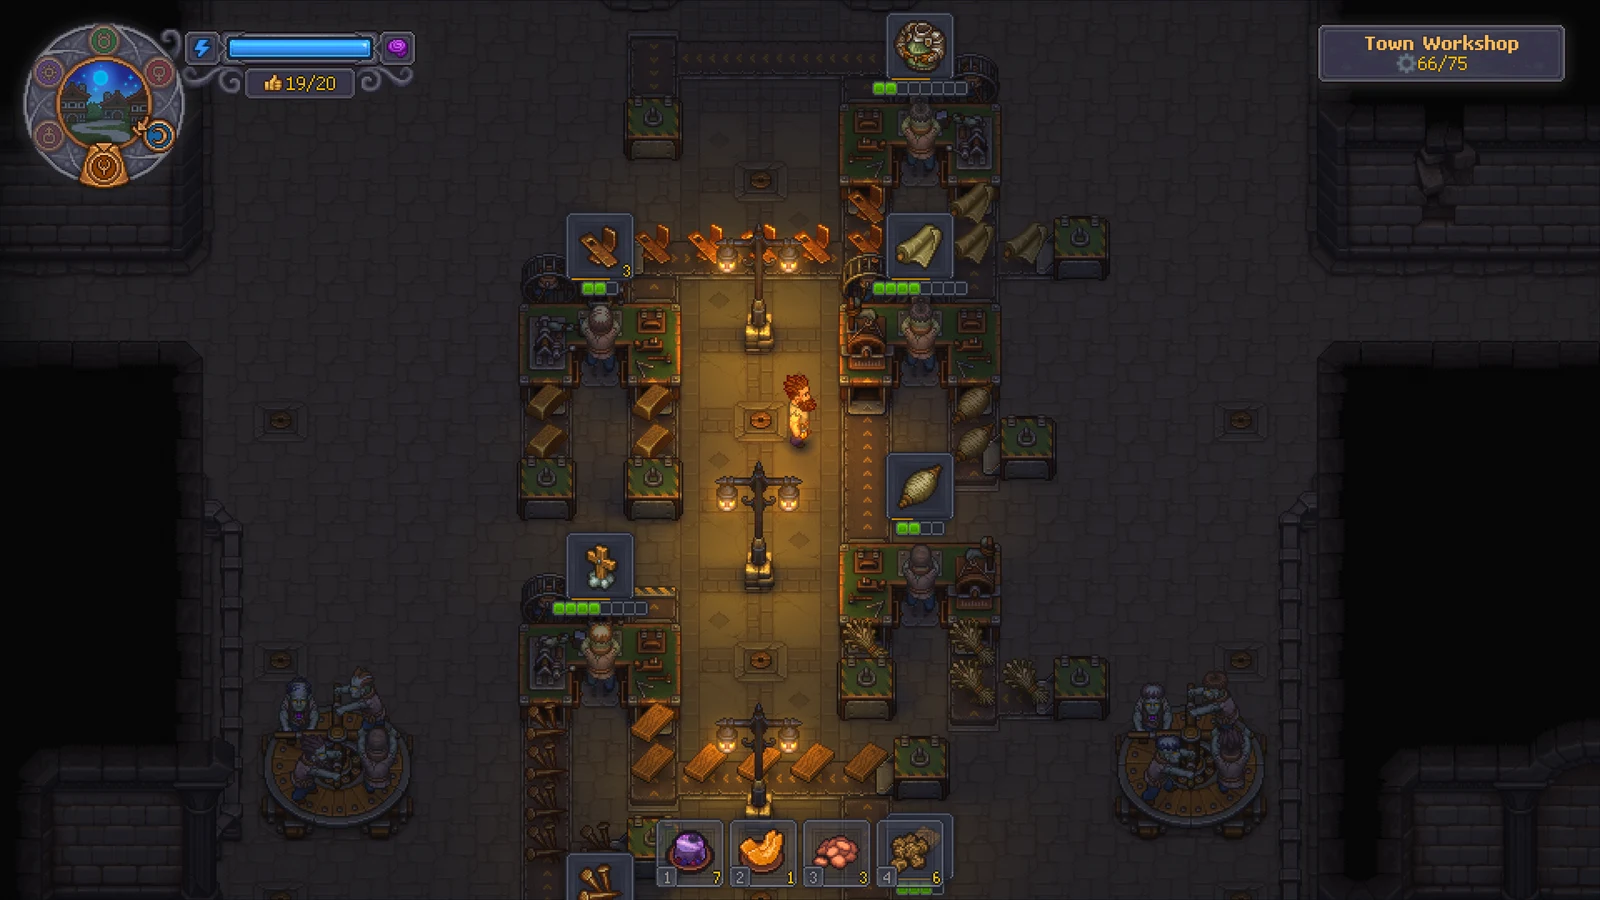
The Town workshop
View full-size image ↗Official promotional screenshot · © Lazy Bear Games / tinyBuild · Official media kit · Material credits
Patch 1.010: check before troubleshooting
PC patch 1.010 (October 13) increases gears from Belt Master zombies and fixes porters walking through factory walls. Its announcement gives no exact gear count; use your current tooltip when budgeting a conveyor layout.
How to reach the Factory
The underground Factory is reached from the cellar of the Inquisition Base, but the way in starts blocked.
Clearing the entrance takes 4 Iron Detail and 1 Reinforced Beam, and your keeper needs Building mastery 8 to do it.
Once through, a discovery scene with Larry plays out and the Factory becomes available for building.
If the iron parts are the hold-up, our iron guide covers where ore spawns and which Smithy extension unlocks ingots.
Power comes from the Zombie Carousel
Conveyors do not run on fuel. They run on zombie muscle, supplied by the Zombie Carousel.
The Carousel starts broken. Repairing it costs 6 Bronze Gear, 4 Bronze Detail and 4 Wooden Plank, and needs Building mastery 5.
Assign a zombie worker to the Carousel. Community data puts one Carousel worker at 7 capacity before the Beltmaster bonus.
Every normal belt piece adds 1 demand, so count your belts against Carousel capacity before you lay a long network.
Conveyors and Conveyor Chests
The Conveyors technology costs 70 red and 20 blue tech points. Fextralife notes that your relationship with Jack has to progress first, including his workshop restoration requests.
Each belt piece costs 1 Bronze Gear and 1 Fabric, so a sprawling layout gets expensive in gears quickly.
Conveyor Chest I is the input and output point of a line: raw materials go in one chest, finished goods collect in another.
Assembly Bench I: build cost and first recipe
The Assembly Bench technology follows Conveyors and costs 75 red and 20 blue tech points.
Assembly Bench I is built for 6 Reinforced Plank, 4 Bronze Gear and 4 Bronze Detail. A zombie works it on the conveyor line; it does nothing on its own.
Its basic Wooden Kit I recipe takes 1 Log and 4 Bronze Nails and produces 4 Wooden Kit I, and the zombie needs Building mastery 2.
Assembly Bench II extends the list to 21 recipes, so the first bench is a starting point rather than the whole factory.
Your first working line
Staff one Carousel, place one Assembly Bench I, one input Conveyor Chest I and one output Conveyor Chest I, and connect them with as little belt as possible.
Assign a dedicated zombie with at least Building mastery 2 to the bench and queue Wooden Kit I.
A compact starter module costs roughly six Reinforced Planks, eight Bronze Gears, twelve Bronze Details and four Wooden Planks, plus one Gear and one Fabric per extra belt piece.
Keeping the first connection short lets you check power, materials and worker mastery before any branch hides the problem.
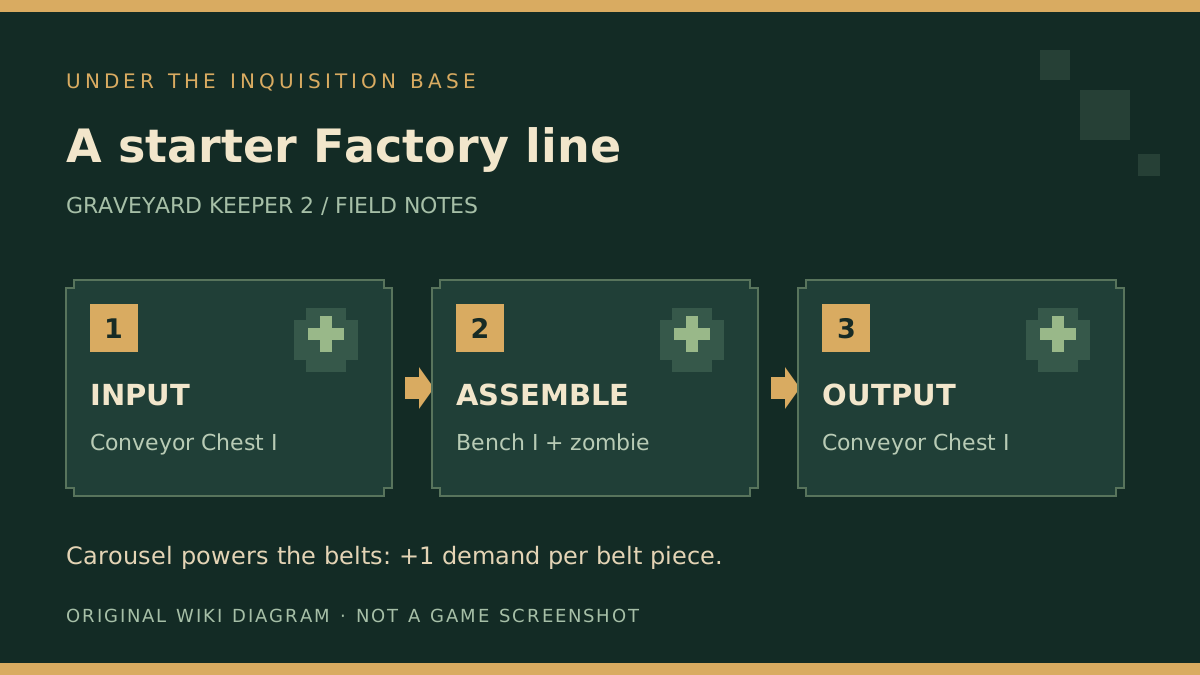
Original schematic of the starter line described above: input chest, zombie-worked Assembly Bench I, output chest, with belts powered by the Carousel. Not an in-game screenshot.
View full-size image ↗Original diagram · Graveyard Keeper 2 Wiki · editorial illustration · Original wiki diagram
A modular layout that scales
Plan the Factory as separate modules, each with its own ingredient feed and collection point, rather than one giant belt.
A proven order is: a Stone Kit module on one Assembly Bench; Wooden Kit I on an Assembly Bench with an Auto-hammer; Iron Kit I on two Smithies; Building Kit I on two Assembly Benches and a Smithy.
The last module handles town supplies with a packing bench and a Supply Station, which is what feeds warehouse orders on autopilot.
Keep raw-material routes on one side of each module and collection on the other, and put each downstream stage next to the material it consumes, leaving space for extensions and for walking up to the stations.
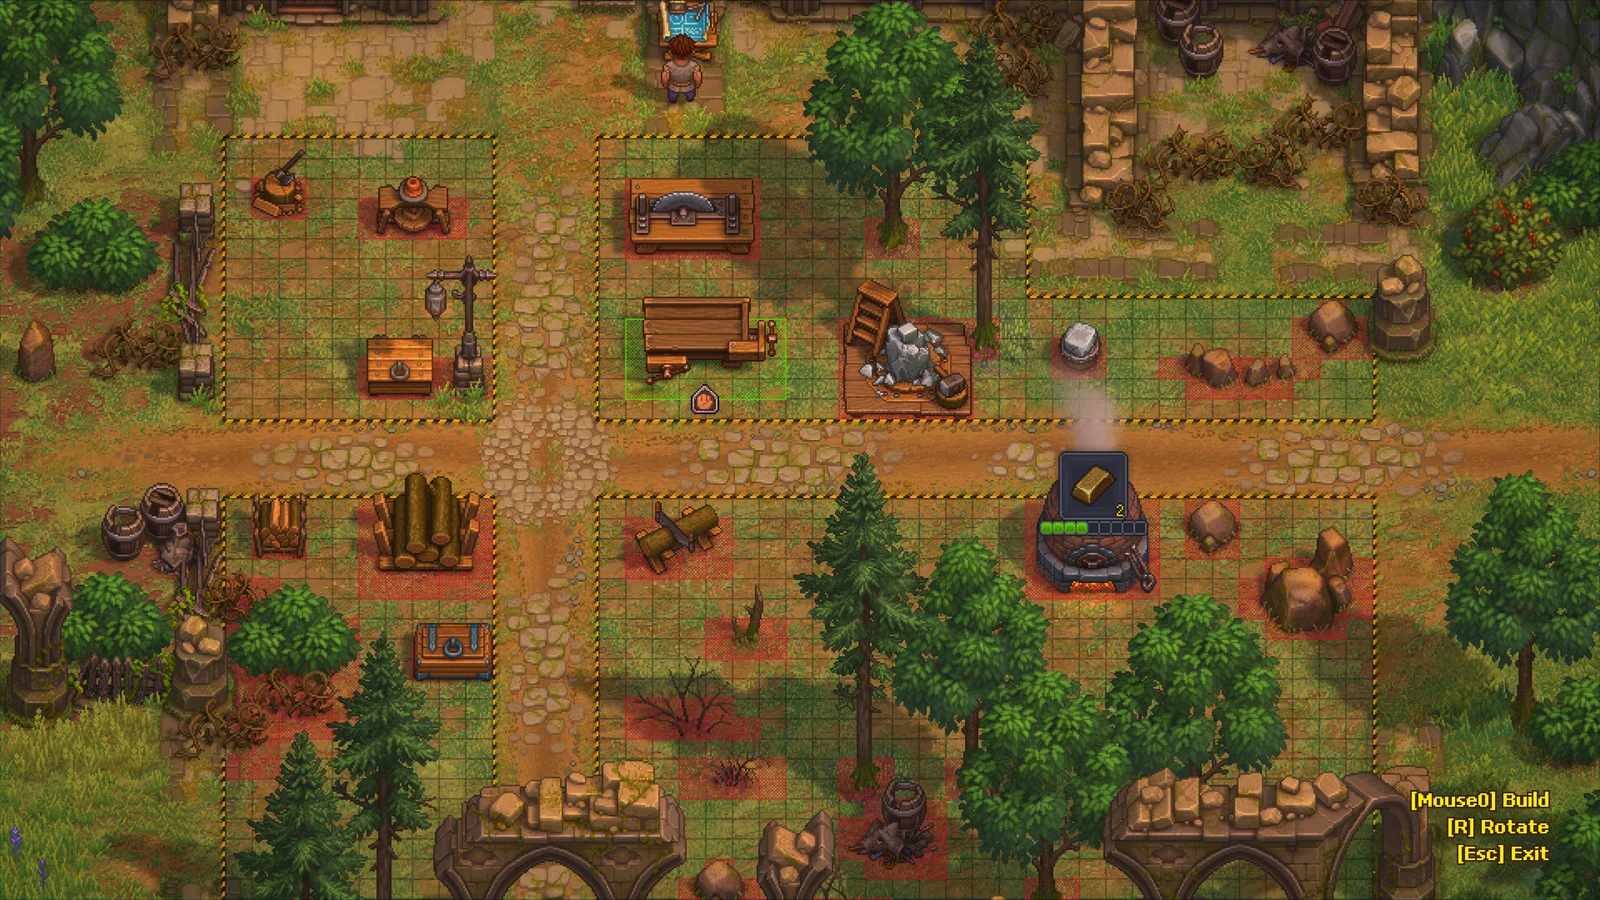
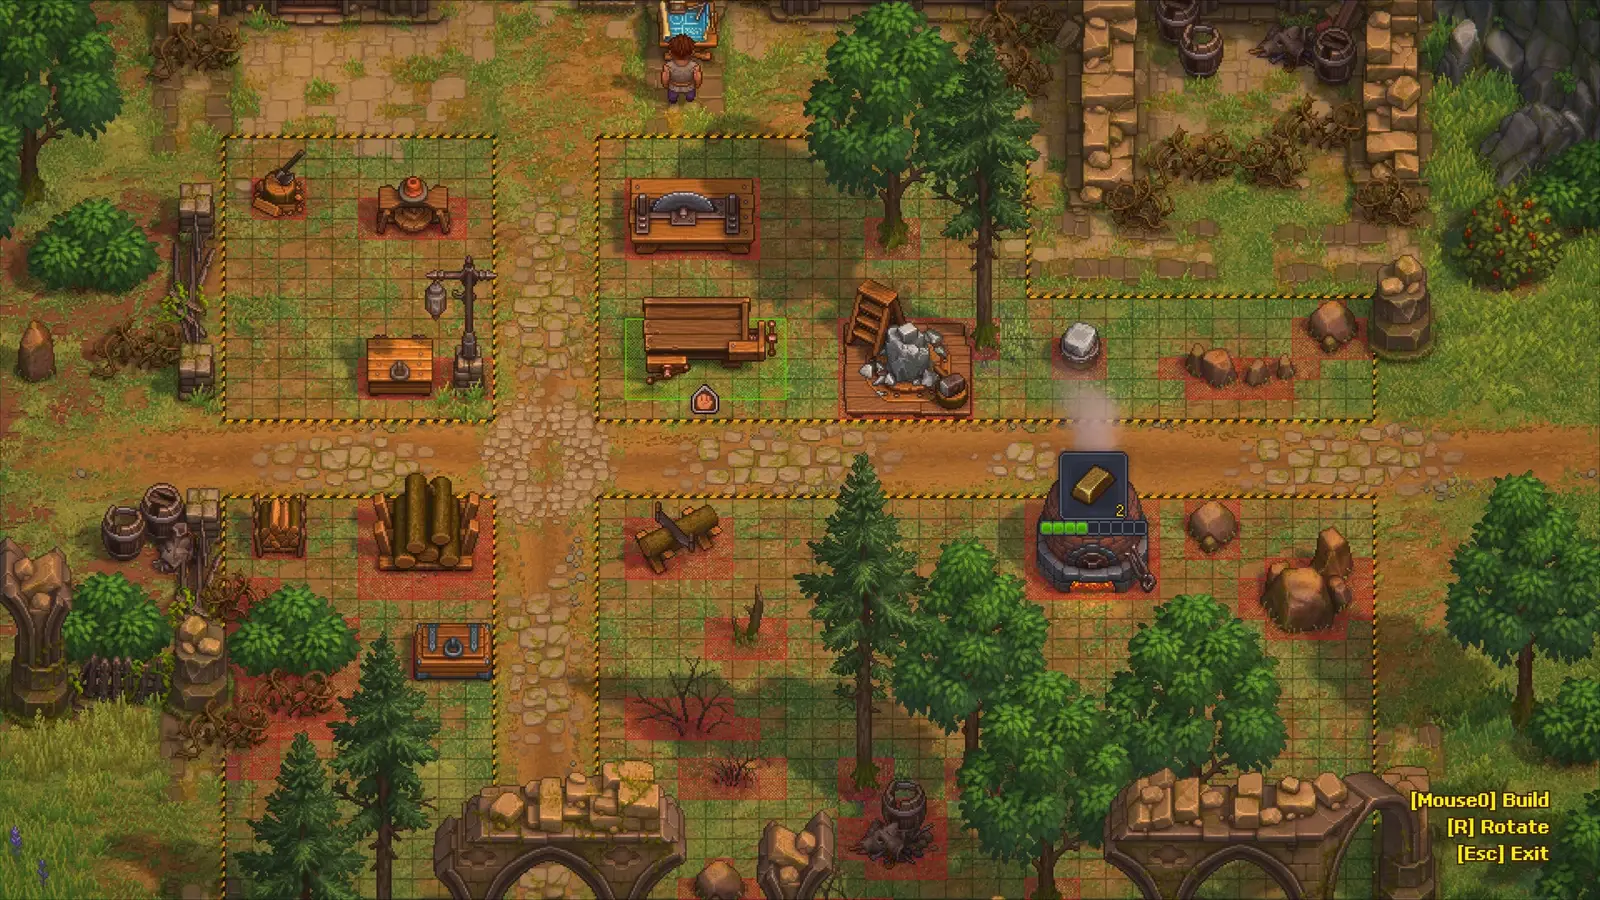
A build-mode view of a production yard from the official media kit. It illustrates planning space around stations, not a specific Factory layout.
View full-size image ↗Official promotional screenshot · © Lazy Bear Games / tinyBuild · Official media kit · Material credits
Why the line stops
Power, worker mastery, ingredients and recipe extensions are four separate requirements. Any one of them missing stops the line.
If belts are idle, compare total belt demand with Carousel capacity first.
If a bench is idle with power, check the zombie's mastery against the recipe — the same rule our zombie guide explains for ordinary workbenches.
If the recipe is missing entirely, the station usually needs an extension, just as the Smithy needs its Hammer before it lists iron ingots.
The bench in Jack's Workshop
Not every Assembly Bench is one you build. Jack's Workshop in The Town has its own, which is not placed from a blueprint desk.
Community data lists one recipe on it: Rusty Armor, from 2 Simple iron parts and 2 Iron Ingots, worked by a zombie on the conveyor line.
That is the answer if you have been wondering where Simple iron parts are used.
Sketch the layout before you build
Draw each module as three blocks in a row: an input Conveyor Chest I, the station doing the work, and an output Conveyor Chest I, with the shortest belt you can between them.
Mark the Carousel next to the first module and write its capacity beside it. Every belt piece you draw is one more point of demand against that number.
Leave a free lane between modules. Stations need walking space for you and for the zombie assigned to them, and later benches and extensions need room to slot in.
Only when the first sketch runs in the game should you copy the pattern for the next module — Wooden Kit I, then Iron Kit I on two Smithies, then Building Kit I and a Supply Station.
Changes the developers have planned
The October 2 roadmap promises more gears from zombies for conveyor belts and movable workstations once they are built. Both make a first layout less of a commitment.
Until they ship, a placed station stays where it is, so sketch the layout first. Our patch notes page tracks when these arrive.
Sources
- officialSteam — Official update 1.010
- officialSteam — Graveyard Keeper 2 news (1.008, 1.009, Plans for the future)
- communityFextralife — Base and Factory Layouts
- communityFextralife — Factory Setup
- communitywikily.gg — Assembly bench I
- communitywikily.gg — Assembly bench II
- communitywikily.gg — Assembly bench (Jack's Workshop)
Related pages
 Official screenshot · © Lazy Bear Games / tinyBuildProgressionGraveyard Keeper 2 Zombies
 Official screenshot · © Lazy Bear Games / tinyBuildCraftingGraveyard Keeper 2 Iron: Ore, Ingots and the SmithyOfficial screenshot · © Lazy Bear Games / tinyBuildCraftingGraveyard Keeper 2 Mine: Old Mine, Dynamite & Zombie Miners
 Official screenshot · © Lazy Bear Games / tinyBuildEconomyGraveyard Keeper 2 Town OrdersOfficial screenshot · © Lazy Bear Games / tinyBuildEconomyJack in Graveyard Keeper 2Official screenshot · © Lazy Bear Games / tinyBuildAutomationGraveyard Keeper 2 Bioreactor & Zombie PowerOfficial screenshot · © Lazy Bear Games / tinyBuildAutomationGraveyard Keeper 2 Zombie Supplier Station
 Official screenshot · © Lazy Bear Games / tinyBuildGuidesGraveyard Keeper 2 Graveyard LayoutOfficial screenshot · © Lazy Bear Games / tinyBuildCraftingGraveyard Keeper 2 Iron Kit I & II
 Official artwork · © Lazy Bear Games / tinyBuildReleaseGraveyard Keeper 2 Patch NotesOfficial screenshot · © Lazy Bear Games / tinyBuildAutomationGraveyard Keeper 2 Factory Layout